Convert Your Wood Burning Fire Pit to Gas
- Warming Trends Staff
- Jul 18, 2019
- 4 min read
Updated: Feb 15, 2021
A backyard fire feature is the perfect gathering place for family and friends, but the mess, smoke, and community restrictions can turn simply lighting a wood burning fire pit into a huge hassle. Consider converting your wood burning fire pit to gas – turn the key valve, light a match and you’re enjoying your fire pit within seconds.

Gas fire pits burn cleanly, meaning your clothes and hair won’t smell like smoke for days afterward. There is no mess or hassle of collecting, storing, and burning wood and without wood, there are no sparks. Many communities ban wood burning fire pits as a preventative measure, especially in the drier parts of the country. With a gas fire feature, there is no reason to worry about the flame getting out of control.
Read on to learn how to convert your wood burning fire pit to gas.
Step One: Choose your fuel source
One common misconception of converting a wood burning fire pit to gas or simply installing a gas fire feature at all is the need to dig gas and electrical lines. Those options are available and choosing between a Natural Gas burning fire feature and a Liquid Propane one is an individual choice, but it is possible to have a gas fire feature up and running within a few hours and with minimal work.
If you intend to make your fire feature a permanent fixture in your backyard, it may be worth running a natural gas line to save on long-term fuel costs but requires installation by a certified gas installer.
If you choose to go the Liquid Propane route, your fire feature will typically be able to run on a 20-pound propane tank, just like those used for gas grills. This option is typically a faster set up and able to be connected by the homeowner.
Step Two: Ignition Options

There are three main types of ignitions: Match Lit, Push Button, and Electronic – and all work seamlessly with CROSSFIRE® Brass Burners.
A Match Lit Ignition is just that – turn the key valve, light the burner (preferably with a long stem lighter), and you’re ready to go. All CROSSFIRE® Brass Burners come standard as match lit.
A Push Button Ignition is similar to the spark ignitor system of a gas grill. Simply turn the key valve, push the button, and you’re enjoying your fire pit.
Electronic Ignitions are great for being able to turn your fire feature on remotely or adding features like a timer or emergency stop (which are typically required for commercial projects.) It is important to note that these ignitions require electricity at the fire feature.
Step Three: Ventilation
Ventilation in a gas fire feature is necessary and Warming Trends® recommends 36 square inches total (18 square inches on opposing sides.) Ventilation is required to avoid the pooling of gas underneath the burner. Vent covers are not required but recommended to keep pests out.
Step Four: The Burner and Plate (or Pan)

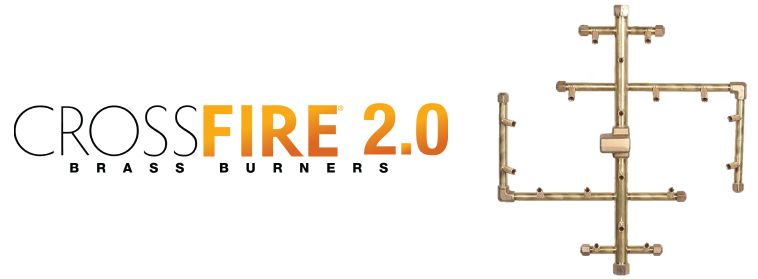
If you already have an existing fire pit, this will dictate what size and shape you are able to outfit it with. For the easiest conversion of standard shapes and sizes, Warming Trends® offers Universal Paver Kits that utilize steel collars to fit ranges of sizes and come standard with an Original CROSSFIRE® Brass Burner, plate in a corresponding size and shape, and flex line connection kit. For the standard round or square shaped fire pits, our Original or Octagonal lines are the most popular and depending on sizing of a rectangular feature, we can outfit with a linear or tree-style burner, plate or pan, collars, and flex line kit. We recommend at least three inches from the jet to the edge of your interior dimension. Have an odd size or shape fire feature? Want to create a custom one? We specialize in that.
Step Five: Install Key Valve
The Warming Trends® Owners Guide and Instruction Manual provides specific, step by step instructions on connecting your key valve and flex lines to your burner and gas supply. The Flex Line Kit included in our Universal Paver Kits (or sold separately) include everything you need to complete the connection between your fire feature and gas supply.
Step Six: Select Media
Complete your fire pit with media, choosing between fire glass, lava rock, ceramic or steel logs (or a combination) to complement the feature and its surroundings. The amount of fire glass and rock can be calculated using our calculator and ceramic and steel log sets are determined based on the size of the feature. This year, we introduced the FireStorm® Steel Gas Log, a unique system that integrates a linear CROSSFIRE® Brass Burner and handcrafted steel log to create a beautiful flame pattern.

Converting your wood burning fire pit to an easy to light, easy to maintain gas burning fire feature is simple. Not sure what size you need or need help deciding which burner or fuel type is right for you? Give us a call – our Flame Consultants are ready to help you!
Find a dealer near you or select from one of our online retailers.


Good article